Setup Web UI
Access the MaxMyCloud Web UI here: https://app.maxmycloud.com
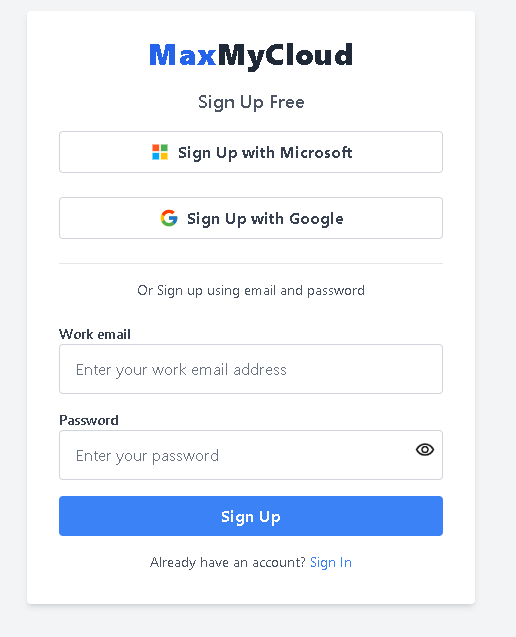
First-time user? Sign up for a free account before continuing.
Prerequisites
Before using the Web UI, ensure the following prerequisites are met:
- Install MaxMyCloud Native App on Snowflake
Follow this to install the MaxMyCloud Native App on your Snowflake account. - Create Snowflake User for Web UI Access
Create Role
Execute the following SQL in your Snowflake worksheet to create the required role:
create role maxmycloud_role;
GRANT APPLICATION ROLE app_maxmycloud TO ROLE maxmycloud_role;
GRANT USAGE ON WAREHOUSE your_warehouse TO ROLE maxmycloud_role;
GRANT USAGE ON INTEGRATION MAXMYCLOUD_API_INTEGRATION TO maxmycloud_role;Choose Authentication Method
You can create the user using either:
- Username & Password – For testing only
- Key Pair Authentication – Recommended for production
Key Pair Authentication (Recommended)
Step 1: Generate Key Pair
Run these commands locally to generate your private and public key:
openssl genrsa 2048 | openssl pkcs8 -topk8 -inform PEM -out rsa_key.p8 -nocryptopenssl rsa -in rsa_key.p8 -pubout -out rsa_key.pubStep 2: Create the Snowflake User
CREATE OR REPLACE USER maxmycloud
PASSWORD = ''  -- Ensure No password for key-pair method
LOGIN_NAME = 'maxmycloud'
DISPLAY_NAME = 'maxmycloud'
DEFAULT_WAREHOUSE = 'your_warehouse'
DEFAULT_ROLE = 'maxmycloud_role'
DISABLED = FALSE;

GRANT ROLE maxmycloud_role TO USER maxmycloud;
Step 3: Assign the Public Key
Replace the example key below with the contents of your generated rsa_key.pub file:
ALTER USER maxmycloud SET RSA_PUBLIC_KEY='MIIBIjANBgkqh...';That’s it for Snowflake configuration. Save your key files securely before proceeding.
Sign Up and Configure Snowflake Connection
Once the prerequisites are complete, sign up at https://app.maxmycloud.com/signup
MaxMyCloud Web UI is secured by default with trusted Google or Microsoft Single Sign-On (SSO). If your organization uses enterprise SSO solutions (such as SAML, Azure Active Directory, or Okta), we support custom integrations. Please contact us to discuss integration options.
After signing in, first-time users will be directed to the Get Started page to configure their Snowflake connection.
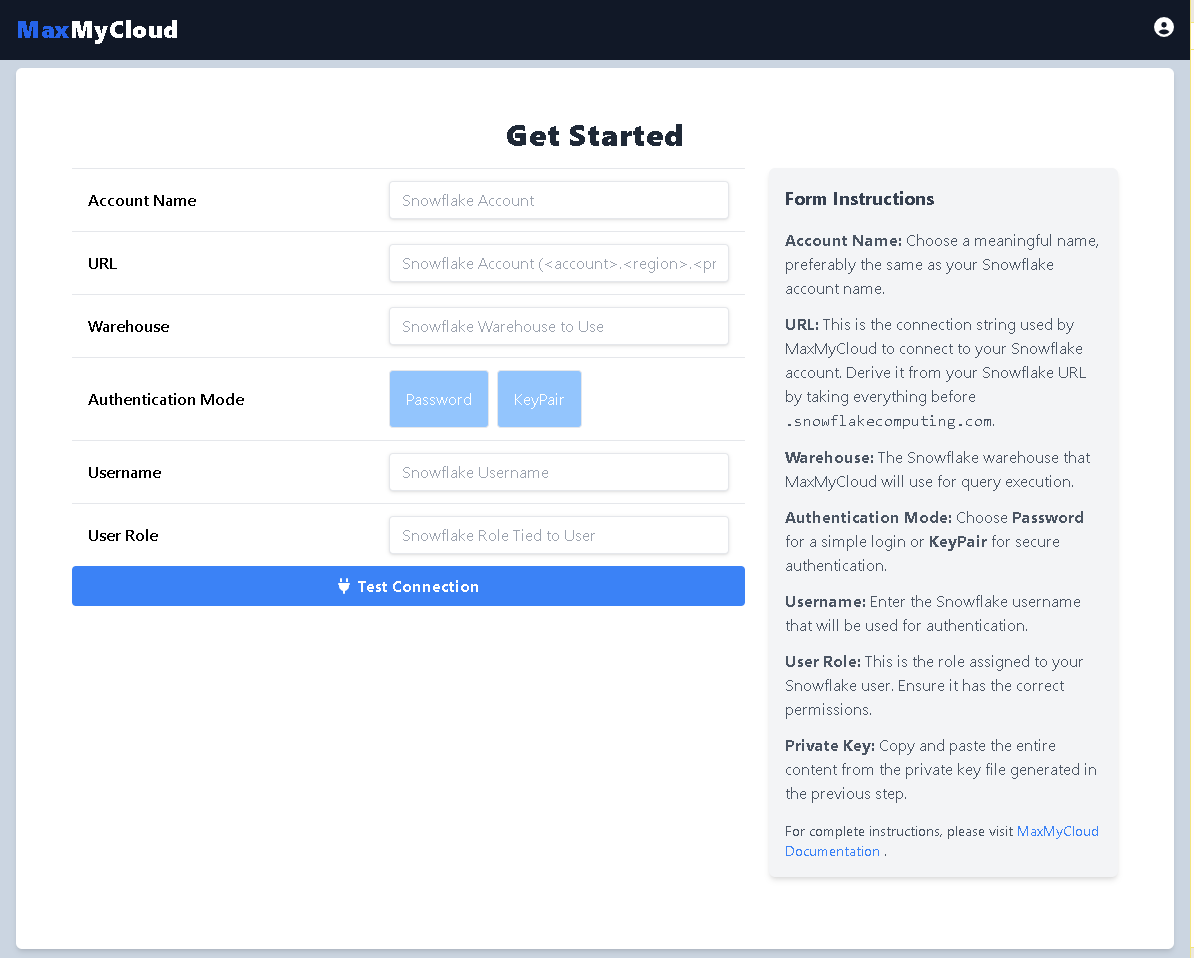
Complete the Get Started Form
- Account Name: Use a recognizable label (e.g., your Snowflake account name).
- URL: Use everything before
.snowflakecomputing.com.
Example: if your URL ishttps://<org>-<acct>.snowflakecomputing.com, enter<org>-<acct>.
Need help locating this? Click here. - Warehouse: Use the same warehouse you granted access to the role.
- Auth Mode: Select
KeyPairand paste your private key. - Username: Enter
maxmycloud. - User Role: Enter
maxmycloud_role.
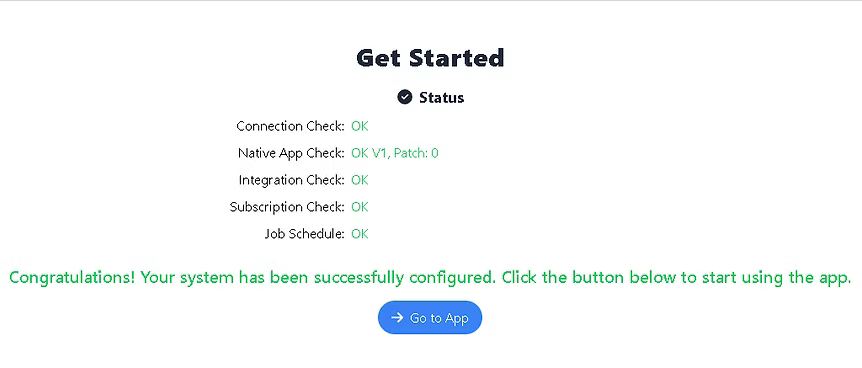
Click “Test Connection” to verify connection.
Navigate the Web UI
After connecting successfully, click “Go to App” to access the main interface.
MaxMyCloud Web UI offers a clean, intuitive experience and consists of two main modules:
Insights
Gain deep analytical insights on Snowflake usage based on historical patterns, Menu item includes:
- Overall
- Compute
- Storage
- Serverless
- Data Processing
- Admin
- Recommendations — actionable suggestions for optimizing cost and performance.
Operations
Real-time monitoring and controls, accessible under the Operations menu:
- Budget Monitoring
- Query Monitoring
- Warehouse Monitoring
- Warehouse Scheduler
Additional Features
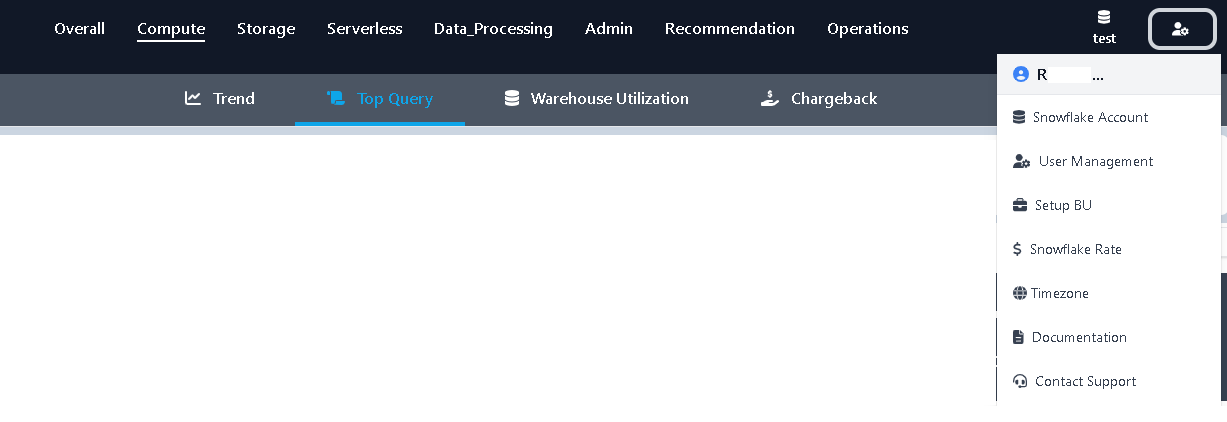
- Access Profile Settings from the user icon (top right).
- Switch Snowflake Accounts using the database icon (left to user icon).
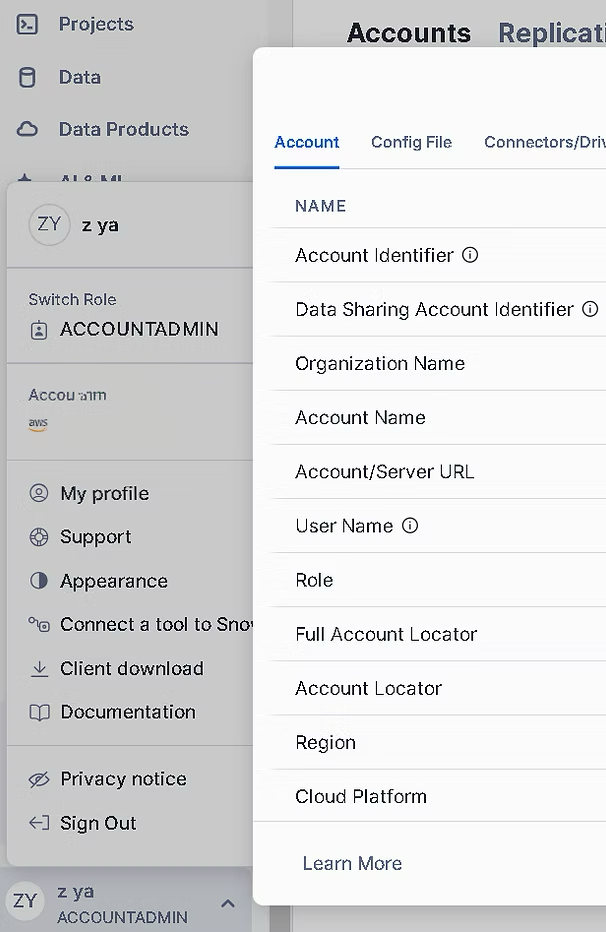
Appendix: Locate Your Snowflake URL
In Snowsight, follow these steps:
- Click your name in the bottom-left corner
- Select Connect a tool to Snowflake
- Copy the Account/Server URL from the right panel